(Page créée avec « {{Tuto Details |Licences=Attribution (CC-BY) |Description=Il s'agit de fabriquer un objet, Nelson, que l'on connectera à internet en Wi-Fi. Nelson a été inventé par [... ») |
|||
| (5 révisions intermédiaires par 2 utilisateurs non affichées) | |||
| Ligne 1 : | Ligne 1 : | ||
{{Tuto Details | {{Tuto Details | ||
|Licences=Attribution (CC-BY) | |Licences=Attribution (CC-BY) | ||
| − | |Description=Il s'agit de fabriquer un objet, Nelson, que l'on connectera à internet | + | |Description=Il s'agit de fabriquer un objet, Nelson, que l'on connectera à internet via Wi-Fi. |
| − | Nelson a été inventé par | + | Nelson a été inventé par Maxime Castelli. |
| − | | | + | |Disciplines scientifiques=Arduino, Computing |
|Difficulty=Technical | |Difficulty=Technical | ||
| − | |Duration= | + | |Duration=4 |
|Duration-type=hour(s) | |Duration-type=hour(s) | ||
|Tags=iot, diy, nodemcu, esp12e, wifi | |Tags=iot, diy, nodemcu, esp12e, wifi | ||
| Ligne 13 : | Ligne 13 : | ||
|ItemList={{ItemList | |ItemList={{ItemList | ||
|Item=NodeMCU ESP12E Amica | |Item=NodeMCU ESP12E Amica | ||
| − | }}{{ItemList}} | + | }}{{ItemList |
| + | |Item=Platine de Prototypage | ||
| + | }}{{ItemList | ||
| + | |Item=Servomoteur | ||
| + | }}{{ItemList | ||
| + | |Item=Chargeur à port USB | ||
| + | }}{{ItemList | ||
| + | |Item=Câble USB - micro-USB | ||
| + | }}{{ItemList | ||
| + | |Item=Imprimante 3D | ||
| + | }}{{ItemList | ||
| + | |Item=Câble Dupont | ||
| + | }} | ||
| + | |Tuto_Attachments={{Tuto Attachments | ||
| + | |Attachment=nelson bottom v2.stl | ||
| + | }}{{Tuto Attachments | ||
| + | |Attachment=nelson top v2.stl | ||
| + | }}{{Tuto Attachments | ||
| + | |Attachment=netlson arrow lab2.stl | ||
| + | }}{{Tuto Attachments | ||
| + | |Attachment=netlson gear.stl | ||
| + | }}{{Tuto Attachments | ||
| + | |Attachment=netlson rack.stl | ||
| + | }} | ||
| + | |ExternalAttachmentsLinks={{ExternalAttachmentsLinks | ||
| + | |ExternalAttachmentsLinks=https://www.thingiverse.com/thing:1571631/files | ||
| + | }} | ||
| + | }} | ||
| + | {{Tuto Step | ||
| + | |Step_Title=Imprimer Nelson en 3D | ||
| + | }} | ||
| + | {{Tuto Step | ||
| + | |Step_Title=Configurer le logiciel Arduino pour qu'il reconnaisse le module « NodeMCU ESP12E Amica ». | ||
| + | |Step_Content=* Ouvrir le logiciel ''Arduino''. | ||
| + | * Aller dans le menu ''Fichiers'', puis ''Préférences.'' | ||
| + | * Dans le champ ''URL de gestionnaire de cartes supplémentaires'', coller l'adresse suivante : http://arduino.esp8266.com/stable/package_esp8266com_index.json | ||
| + | * Valider en cliquant sur ''OK''. | ||
| + | |Step_Picture_00=Fabriquer_un_Objet_Connecté_interface_arduino.png | ||
| + | |Step_Picture_01=Fabriquer_un_Objet_Connecté_arduino_preferences.png | ||
| + | |Step_Picture_02=Fabriquer_un_Objet_Connecté_arduino_preferences_gestionnaire_cartes.png | ||
| + | }} | ||
| + | {{Tuto Step | ||
| + | |Step_Title=Tester que tout fonctionne | ||
| + | }} | ||
| + | {{Tuto Step | ||
| + | |Step_Title=Configurer le logiciel Arduino pour qu'il reconnaisse le module « NodeMCU ESP12E Amica ». | ||
| + | }} | ||
| + | {{Tuto Step | ||
| + | |Step_Title=Tester que tout fonctionne | ||
}} | }} | ||
| − | |||
| − | |||
{{Notes}} | {{Notes}} | ||
{{Tuto Status | {{Tuto Status | ||
|Complete=Draft | |Complete=Draft | ||
}} | }} | ||
| + | {{Separator}} | ||
Version actuelle datée du 12 décembre 2020 à 17:40
Il s'agit de fabriquer un objet, Nelson, que l'on connectera à internet via Wi-Fi.
Nelson a été inventé par Maxime Castelli.
Difficulté
Technique
Durée
4 heure(s)
Disciplines scientifiques
Arduino, Informatique
Sommaire
- 1 Étape 1 - Imprimer Nelson en 3D
- 2 Étape 2 - Configurer le logiciel Arduino pour qu'il reconnaisse le module « NodeMCU ESP12E Amica ».
- 3 Étape 3 - Tester que tout fonctionne
- 4 Étape 4 - Configurer le logiciel Arduino pour qu'il reconnaisse le module « NodeMCU ESP12E Amica ».
- 5 Étape 5 - Tester que tout fonctionne
- 6 Commentaires
- Matériel et outils
- Fichiers
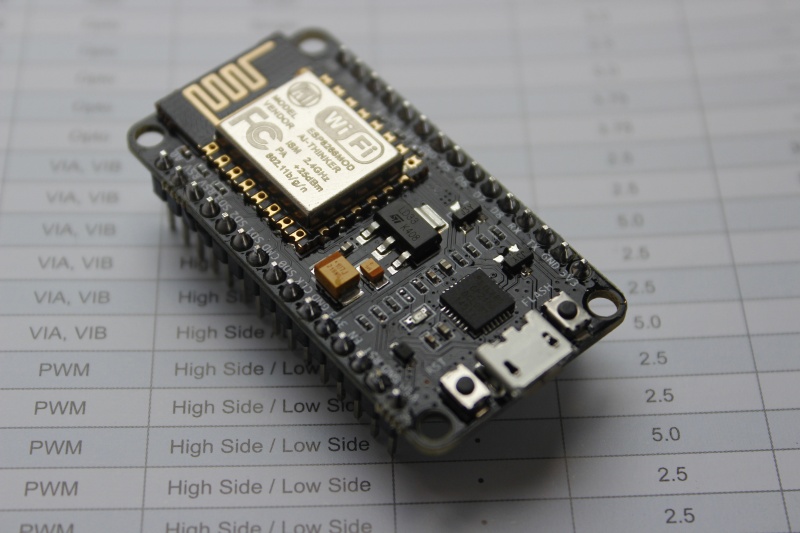
NodeMCU ESP12E Amica
Cette carte fonctionne comme un serveur web, capable de se connecter à un réseau wifi.
Elle dispose de broches et se programme de différente manières, en particulier via le logiciel Arduino.
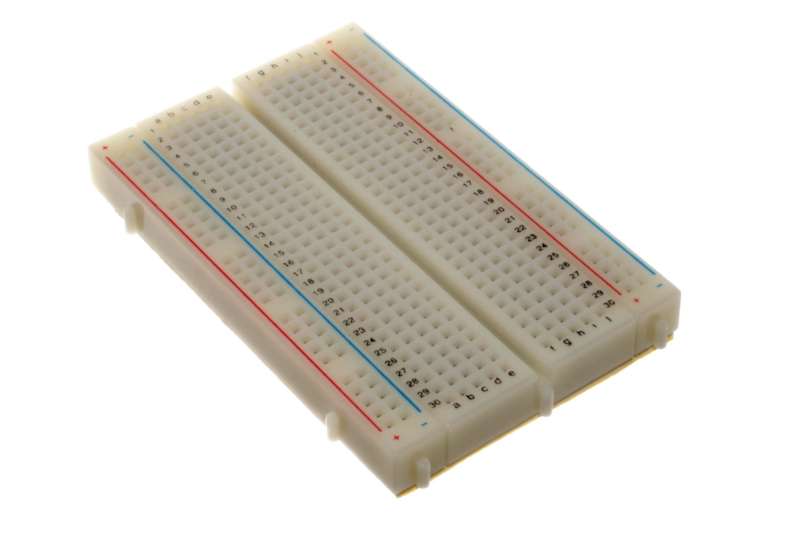
Platine de Prototypage
Une platine d'expérimentation ou platine de prototypage (appelée en anglais breadboard, solderless breadboard, protoboard, plugboard ou encore Labdec du nom de la marque la plus répandue) est un dispositif qui permet de réaliser le prototype d'un circuit électronique et de le tester. L'avantage de ce système est d'être totalement réutilisable, car il ne nécessite pas de soudure.
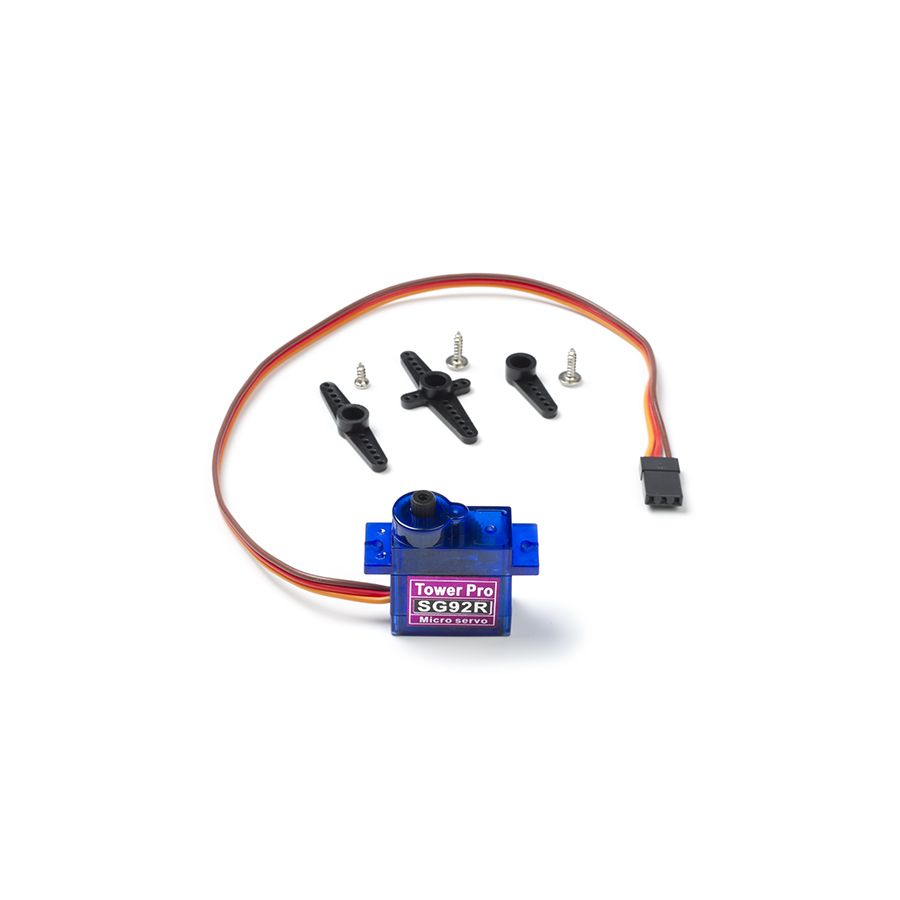
Servomoteur
Un servomoteur (couramment appelé "servo" du latin "servus" signifiant "esclave") est un moteur capable de maintenir une opposition à un effort statique et dont la position est vérifiée en continu et corrigée en fonction de la mesure.
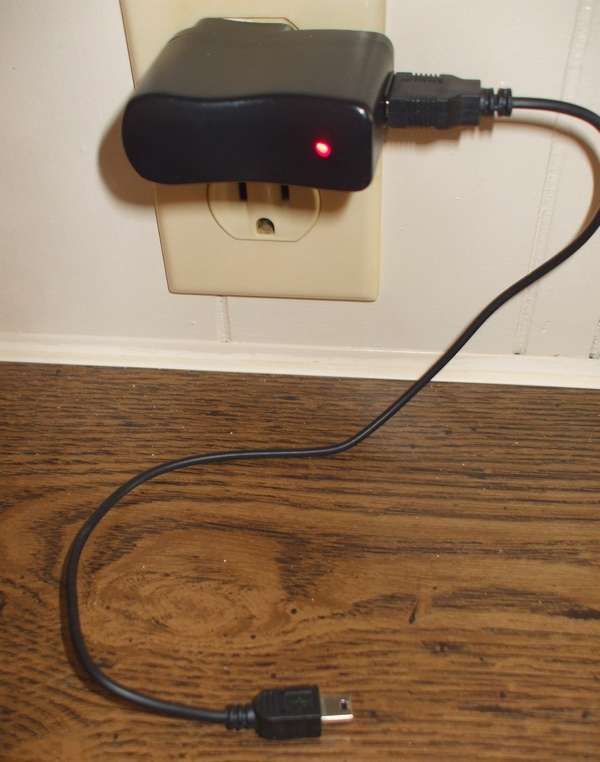
Chargeur à port USB
Un chargeur est un appareil permettant de recharger un ou plusieurs accumulateurs électriques, groupés ou non en batterie, en injectant un courant électrique inverse au sens d'utilisation (décharge).
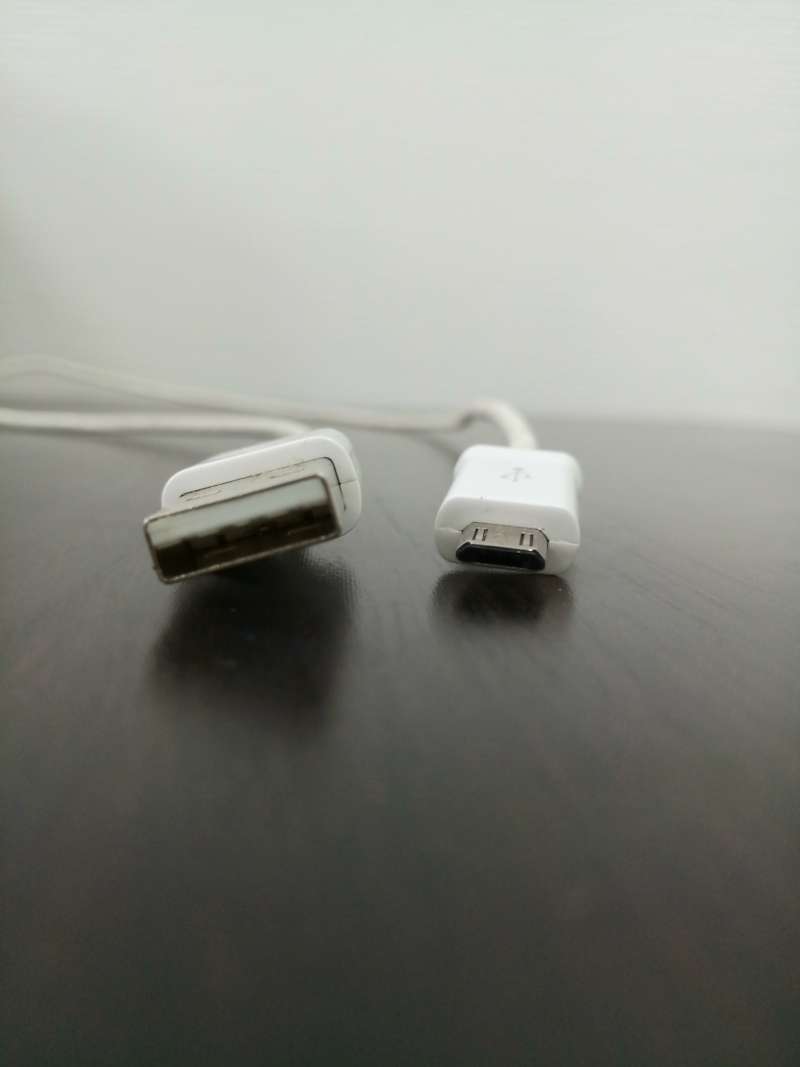
Câble USB - micro-USB
Le terme anglais Universal Serial Bus ou USB (en français bus universel en série) est une norme relative à un bus informatique en série qui sert à connecter des périphériques informatiques à un ordinateur ou à tout type d'appareil prévu à cet effet (tablette, smartphone, etc.).
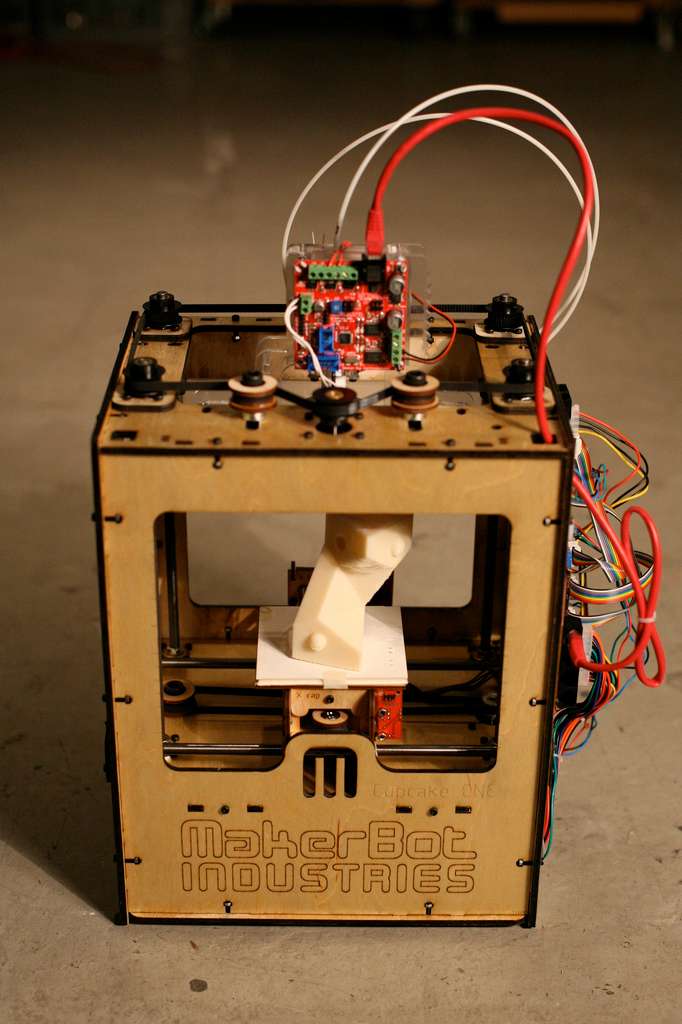
Imprimante 3D
L'impression 3D ou impression tridimensionnelle est l’appellation « grand public » des procédés de fabrication de pièces en volume par ajout ou agglomération de matière.
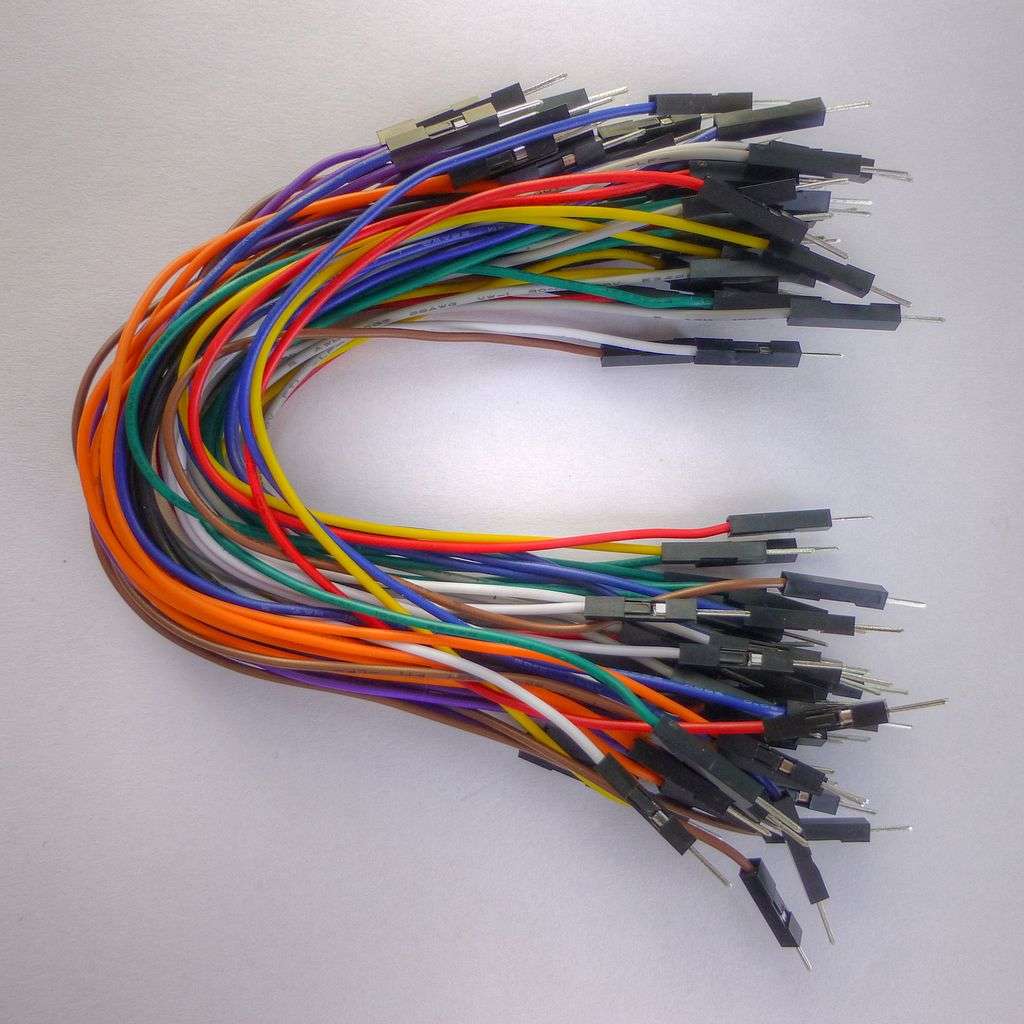
Câble Dupont
Les câbles de connexion servent à créer rapidement des liaisons électriques sur des platines de prototypage sans avoir besoin de faire des soudures.
Étape 1 - Imprimer Nelson en 3D
Étape 2 - Configurer le logiciel Arduino pour qu'il reconnaisse le module « NodeMCU ESP12E Amica ».
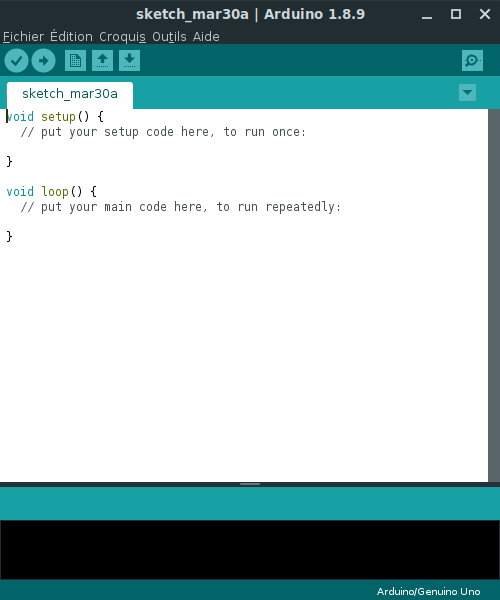
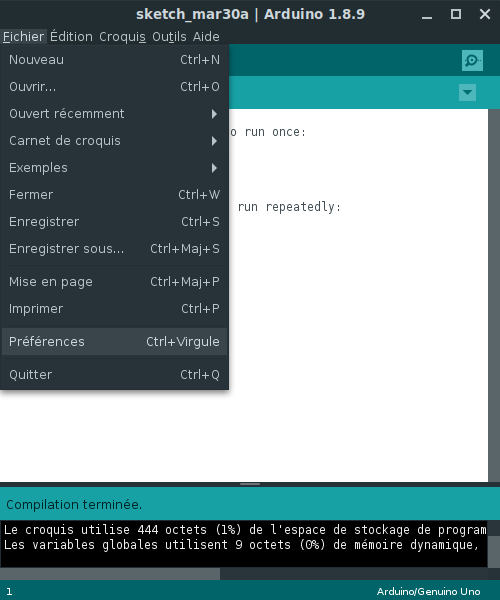
- Ouvrir le logiciel Arduino.
- Aller dans le menu Fichiers, puis Préférences.
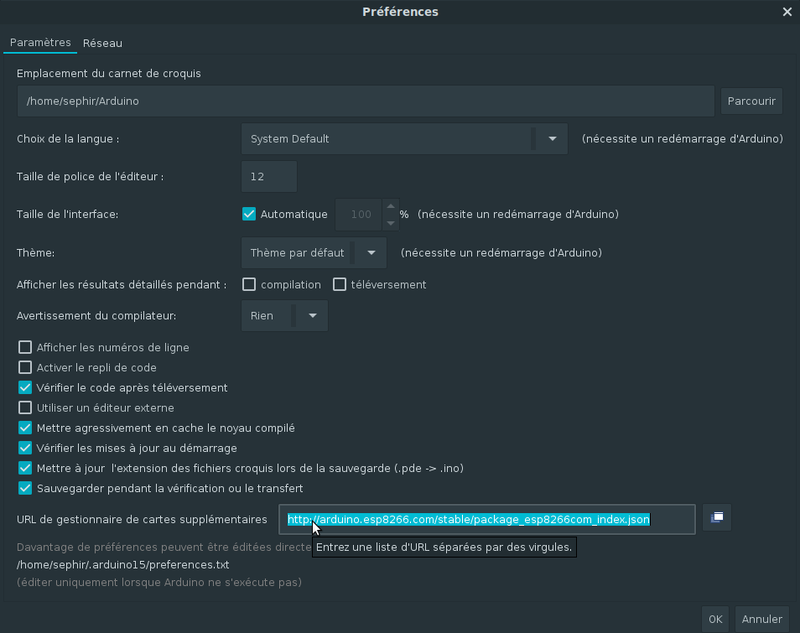
- Dans le champ URL de gestionnaire de cartes supplémentaires, coller l'adresse suivante : http://arduino.esp8266.com/stable/package_esp8266com_index.json
- Valider en cliquant sur OK.
Étape 3 - Tester que tout fonctionne
Étape 4 - Configurer le logiciel Arduino pour qu'il reconnaisse le module « NodeMCU ESP12E Amica ».
Étape 5 - Tester que tout fonctionne
Dernière modification 12/12/2020 par user:Antonydbzh.
Draft
